Asset Manager (Photos & Images)
The Assets section serves as your dedicated library for storing brand imagery. It functions like a standard cloud file manager, allowing you to upload, organize, and store files that you can later insert into your social media posts via the Design Editor.
Managing Your Assets
You can upload most standard image formats, including: JPG, JPEG, PNG, GIF, and WebP.
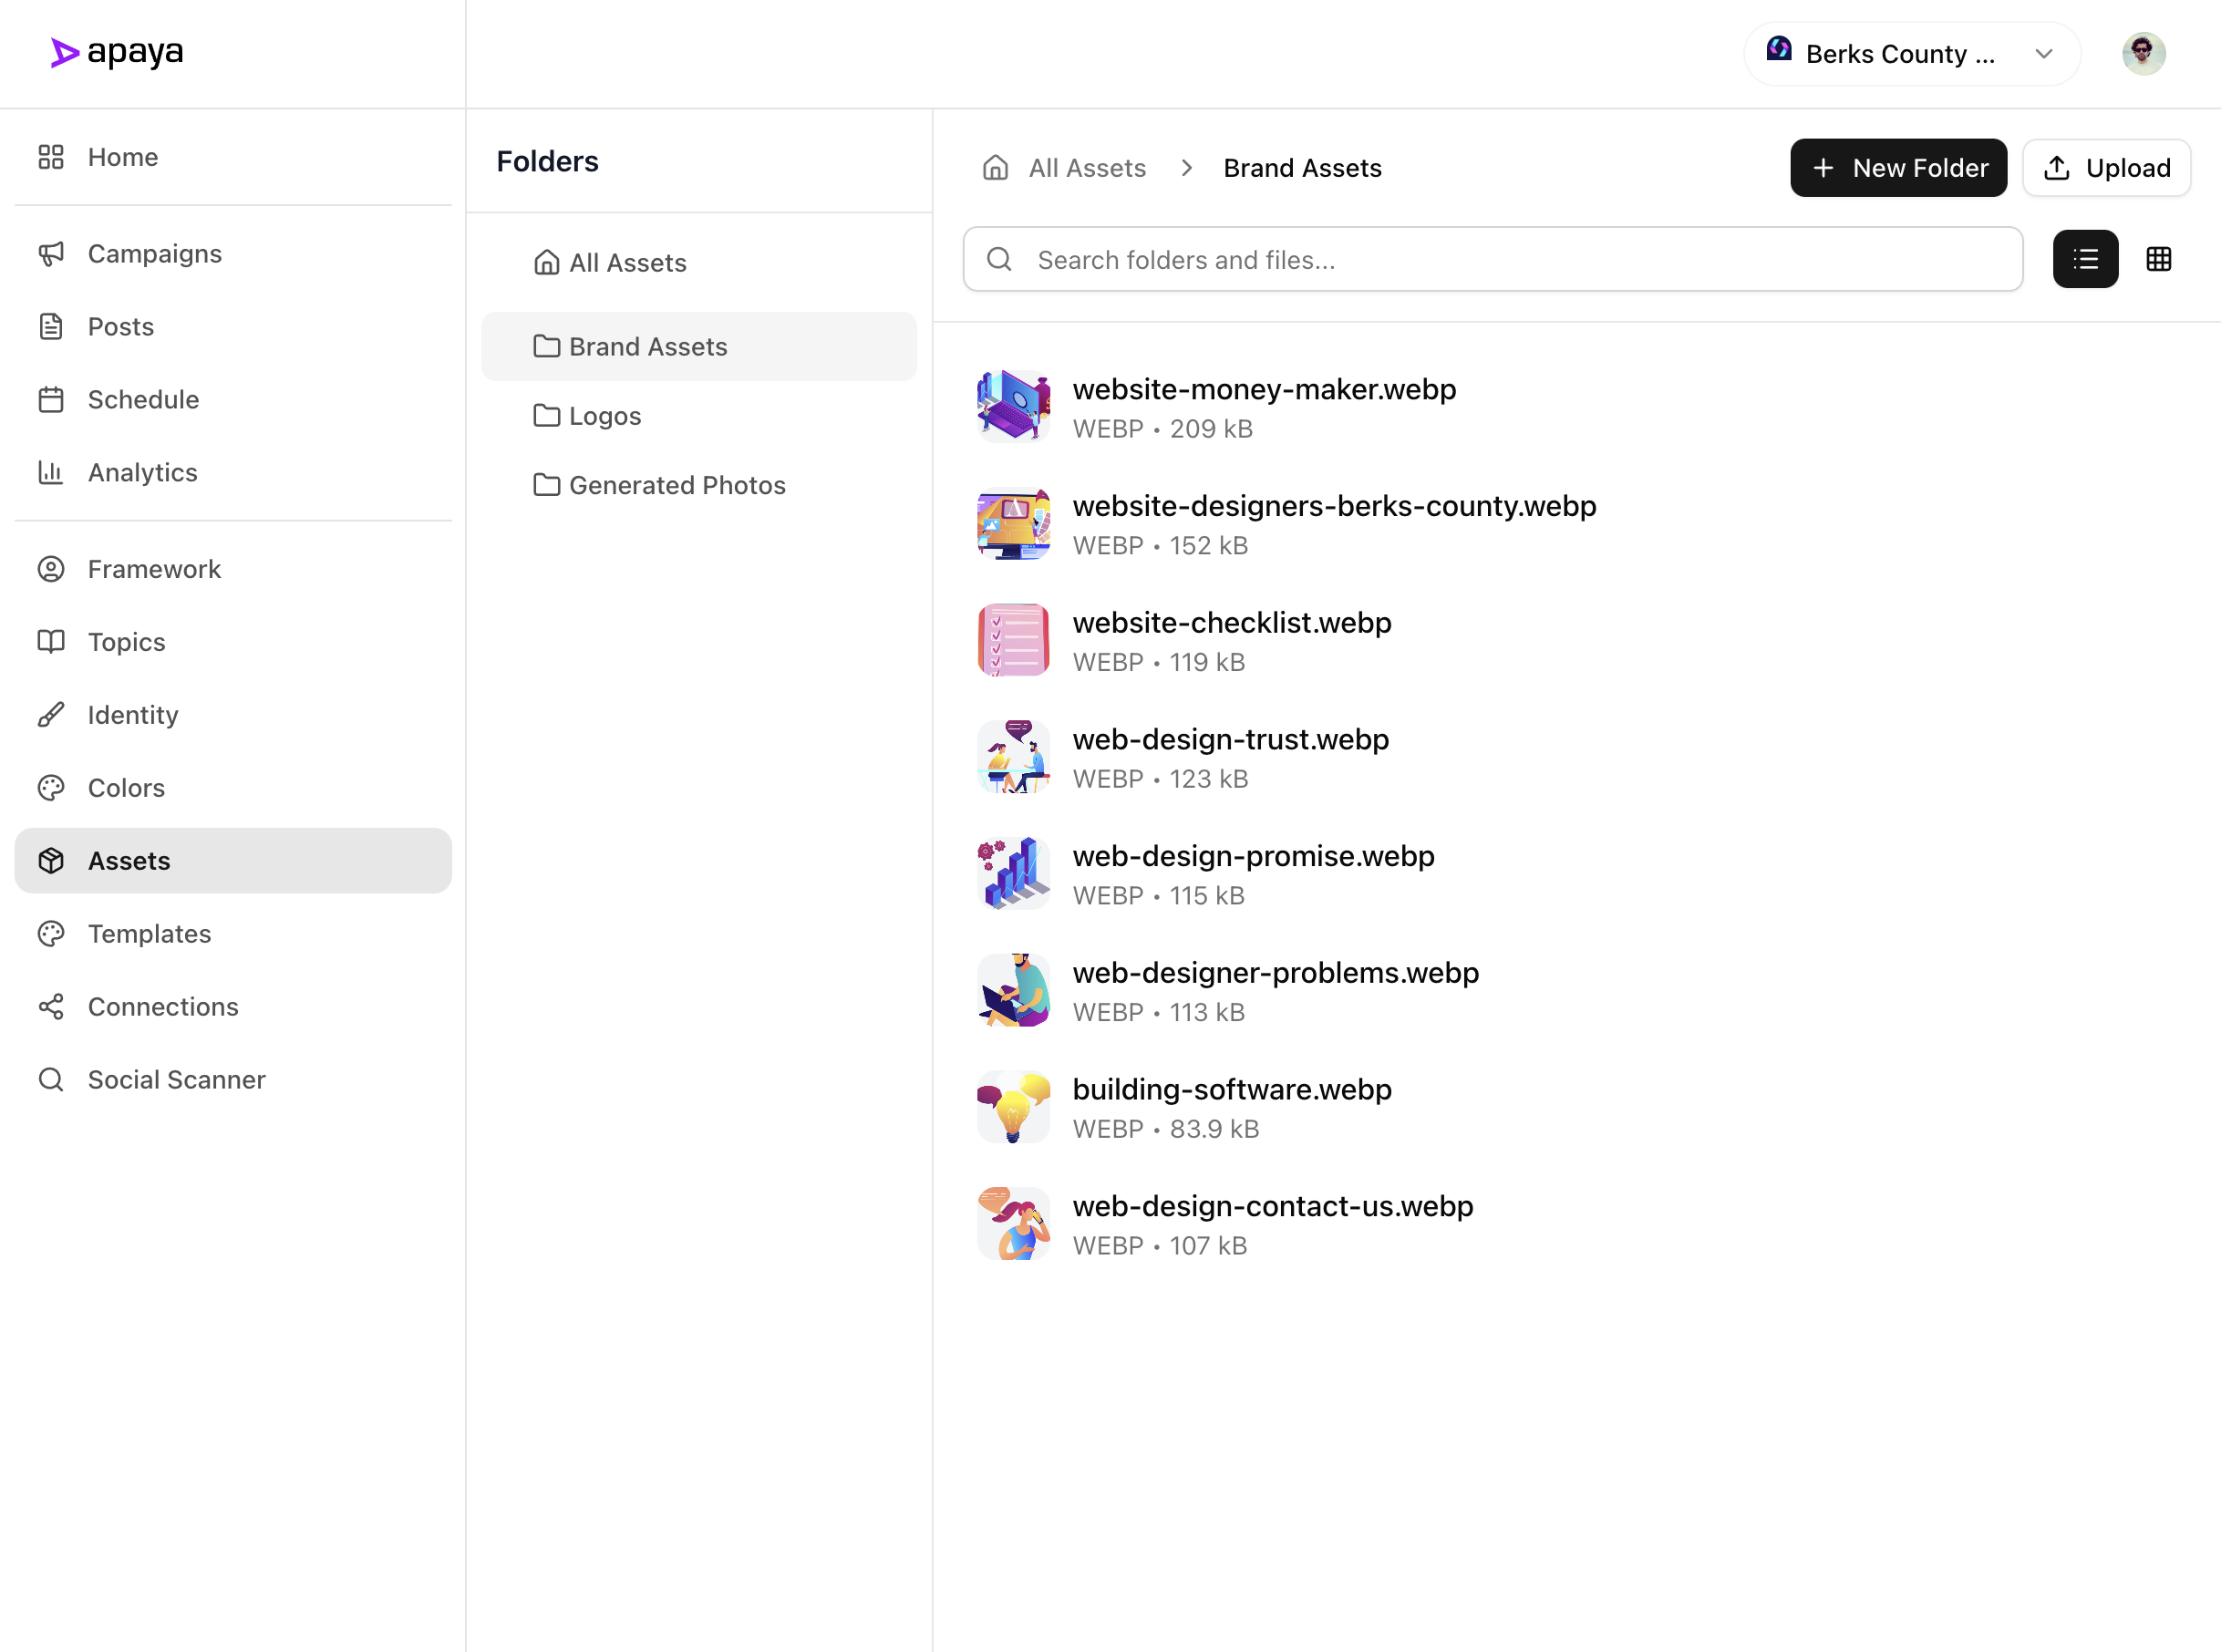
This area provides standard file management tools to keep your library organized:
- Folders: Create custom folders to categorize images (e.g., “Product Photos,” “Logos,” “Icons”).
- Upload: Click the Upload button or simply drag and drop files directly into the browser window.
- Move & Organize: Select files to move them between folders to keep your workspace tidy.
- Preview: Click on any file to view the full-resolution image.
Once uploaded here, these images become immediately available for selection inside the Editor when customizing your Templates.
Use Your Own Photos in a Campaign
You can create a campaign with your uploaded photos instead of AI-generated imagery. Apaya can still write the caption and post copy, while the visual is one of your own photos.
- Upload your images to Assets. For a photo-based campaign, add them to Brand Stock Photos (you can create folders inside it to keep campaigns organized).
- Go to Campaigns and start a new campaign.
- Under Content source, choose Photo Strategy.
- Under Photo use, select Use photos directly. This is the option to use your uploaded images as the post visuals; it does not create a new AI image.
- Choose how photos are selected:
- Auto select photos lets Apaya choose from the selected Brand Stock Photos folder and its subfolders.
- Choose specific photos lets you pick the exact uploaded images for the campaign.
- Upload photos lets you add new photos while creating the campaign.
- Finish the campaign setup, review the draft posts, and approve the ones you want to publish.
Which Photo Use Option Should I Choose?
- Use photos directly: Use this when you want the post to feature the actual photos you uploaded. Apaya generates the accompanying caption, not a replacement image.
- Create scenes from brand references: Use this only when you want Apaya to create a new AI scene inspired by uploaded product or brand reference images. It is not the right option when you want to publish your original photos unchanged.
Use Your Own Photo in a Single Post
For a one-off post, go to Create and choose a social post. In the image step, choose one of these options:
- Pick from Your Library to reuse a photo already in your Brand Stock Photos library.
- Upload an Image to use a new photo or graphic in this post.
- Enter a Photo URL to use an image from a public web link; Apaya saves it to Brand Stock Photos for future use.
After choosing the photo, select a layout, review the caption and preview, then save, schedule, or publish the post. These options use the image you chose; they do not generate a replacement AI image.
Was this helpful?
If you still have questions, our support team is ready to help you.
Was this helpful?
If you still have questions, our support team is ready to help you.